Choosing an Indigo Vat
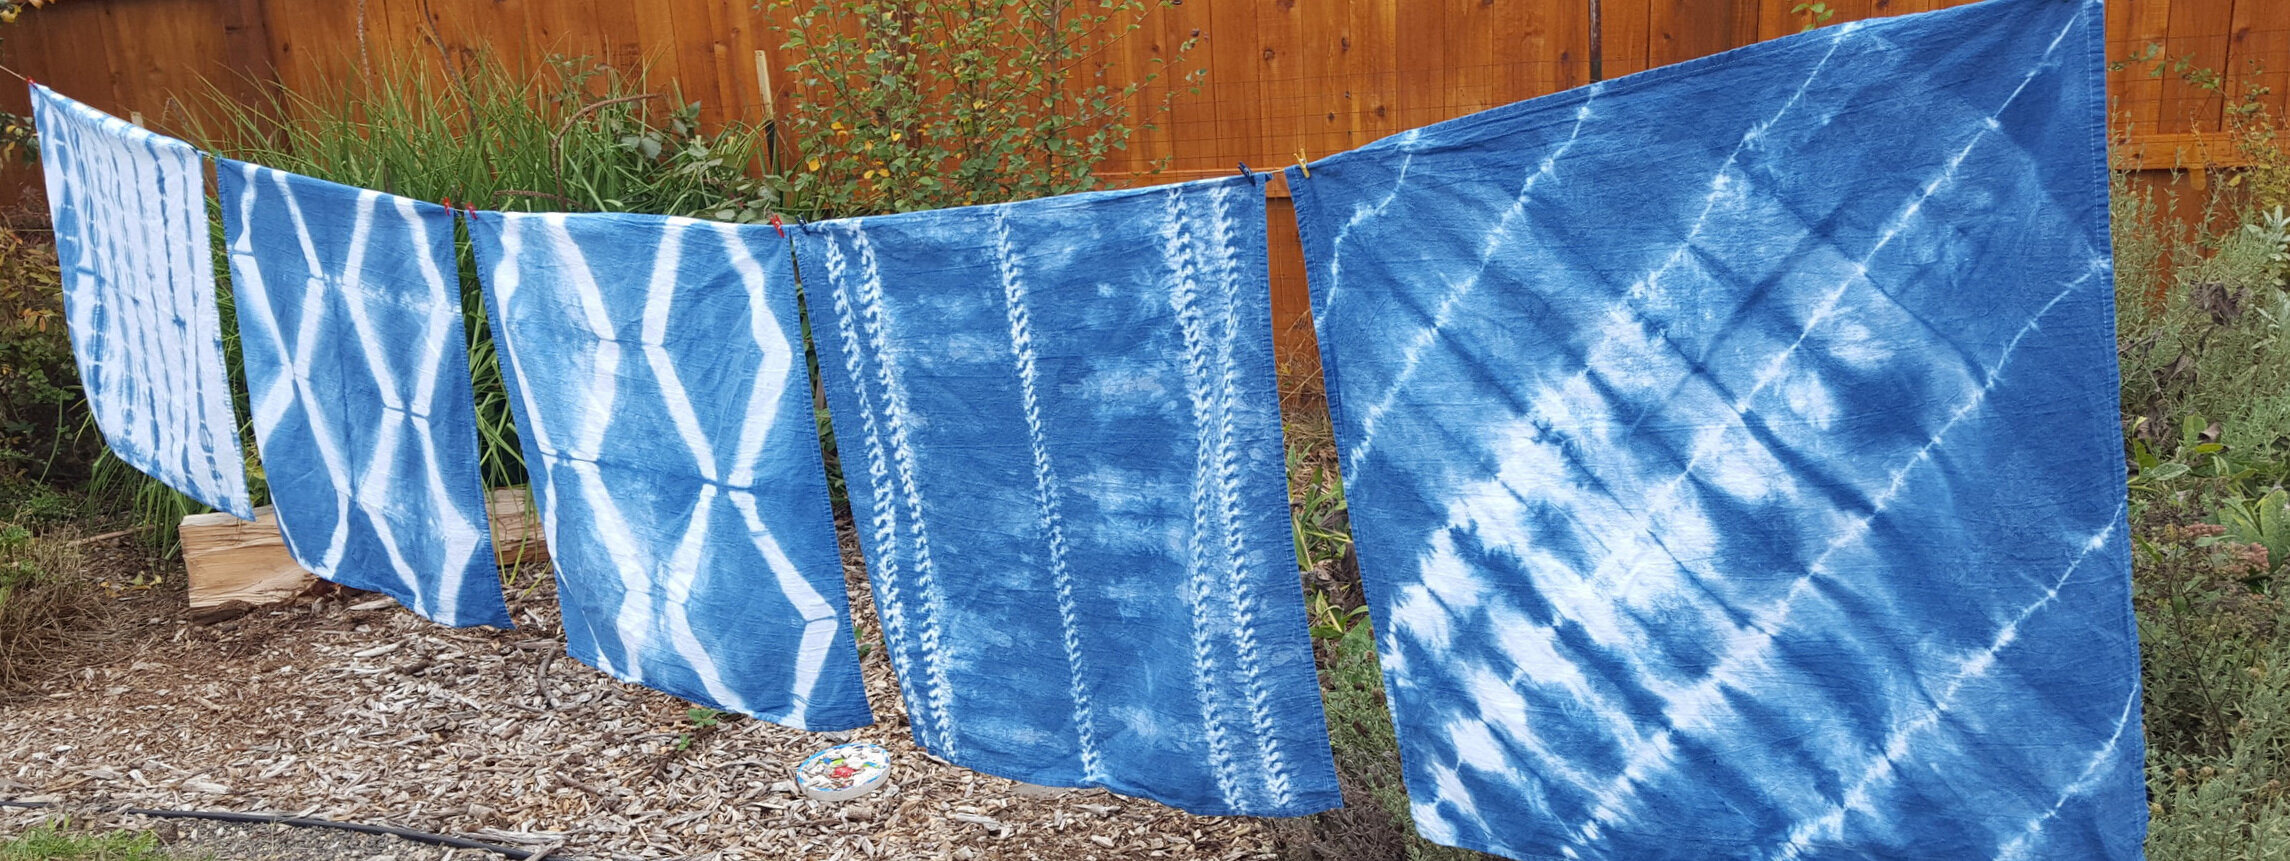
Indigo is one of my favorite dyes to use! I often combine it with natural leaf prints that I create through eco printing, or to create beautiful stand-alone designs on cotton baskets, bandanas, dishtowels, bags, and other items. Dyeing with indigo is not as straightforward as other dyes and there are many ways to set up a vat of indigo.
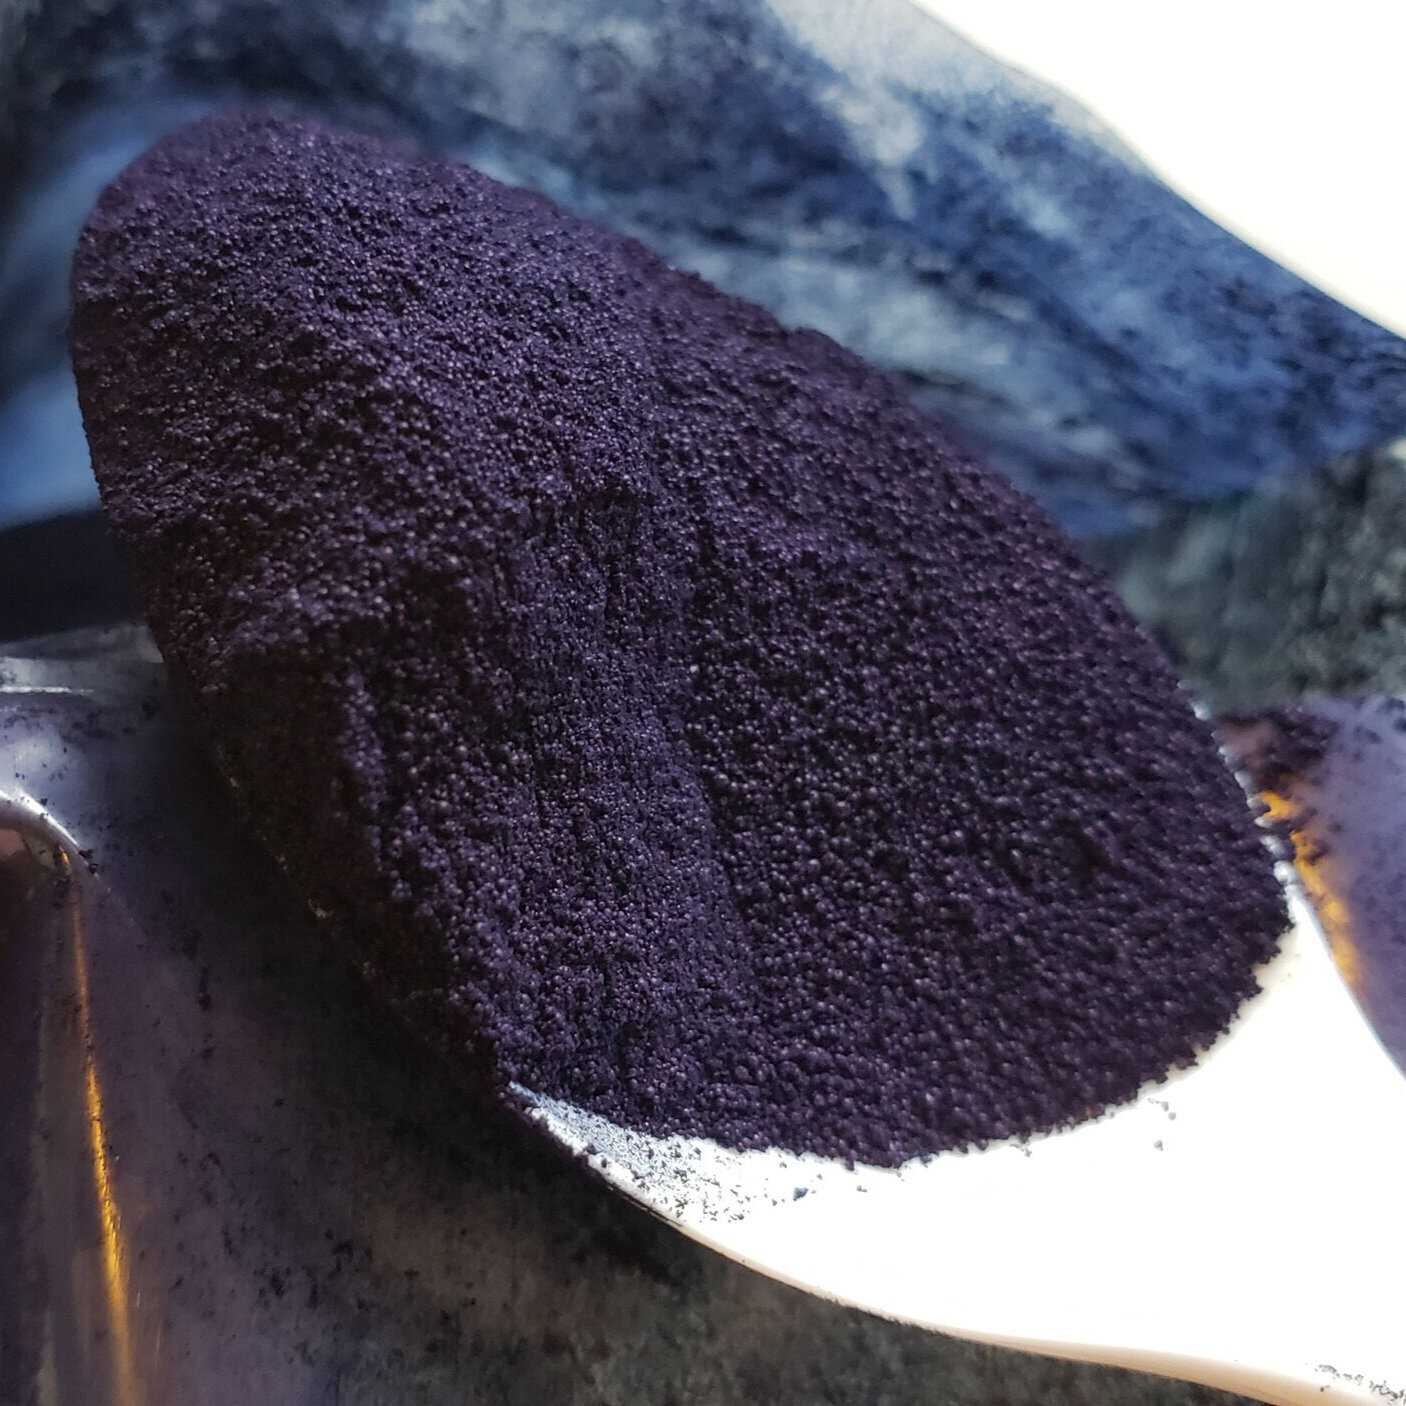
Indigo is a more complicated dye to use than many other natural dyes because the indigo molecule is not soluble in water. If rubbed onto fabric it can make a stain but it won’t dye fiber permanently in this state. For indigo to permanently dye fabric, it must be transformed into a soluble material. This is done by creating a vat.
The purpose of creating a vat is to alter the indigo molecule. A vat has two requirements for this to happen:
It must be alkaline, or have a high pH
It needs to be a reduced solution. In this case, a reduced solution means that it is devoid of oxygen.
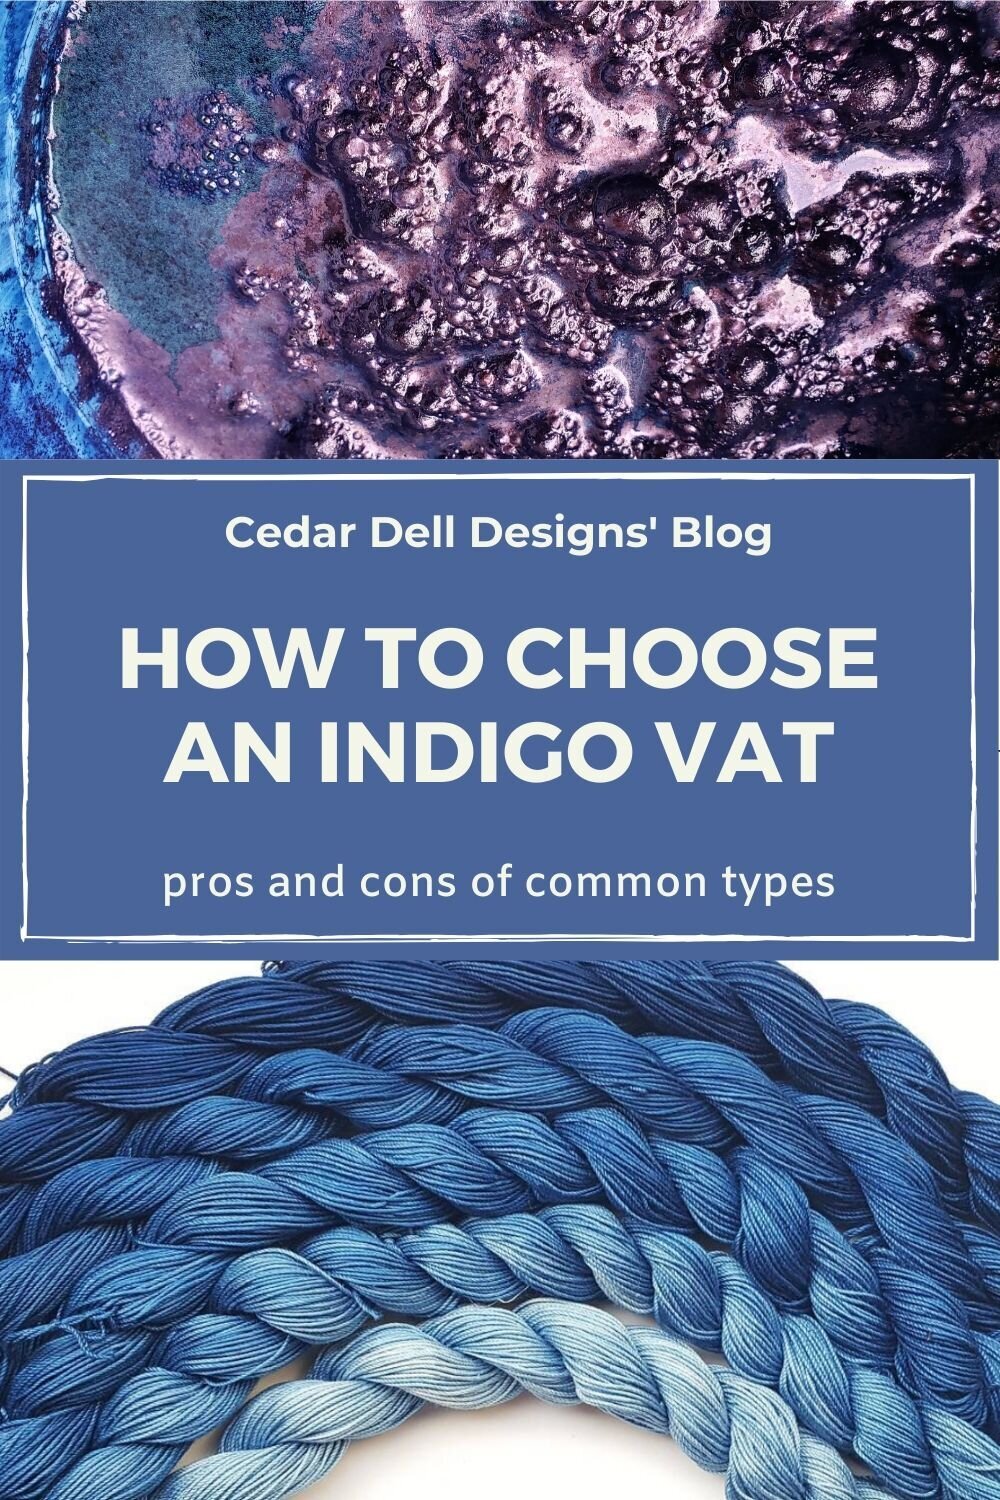
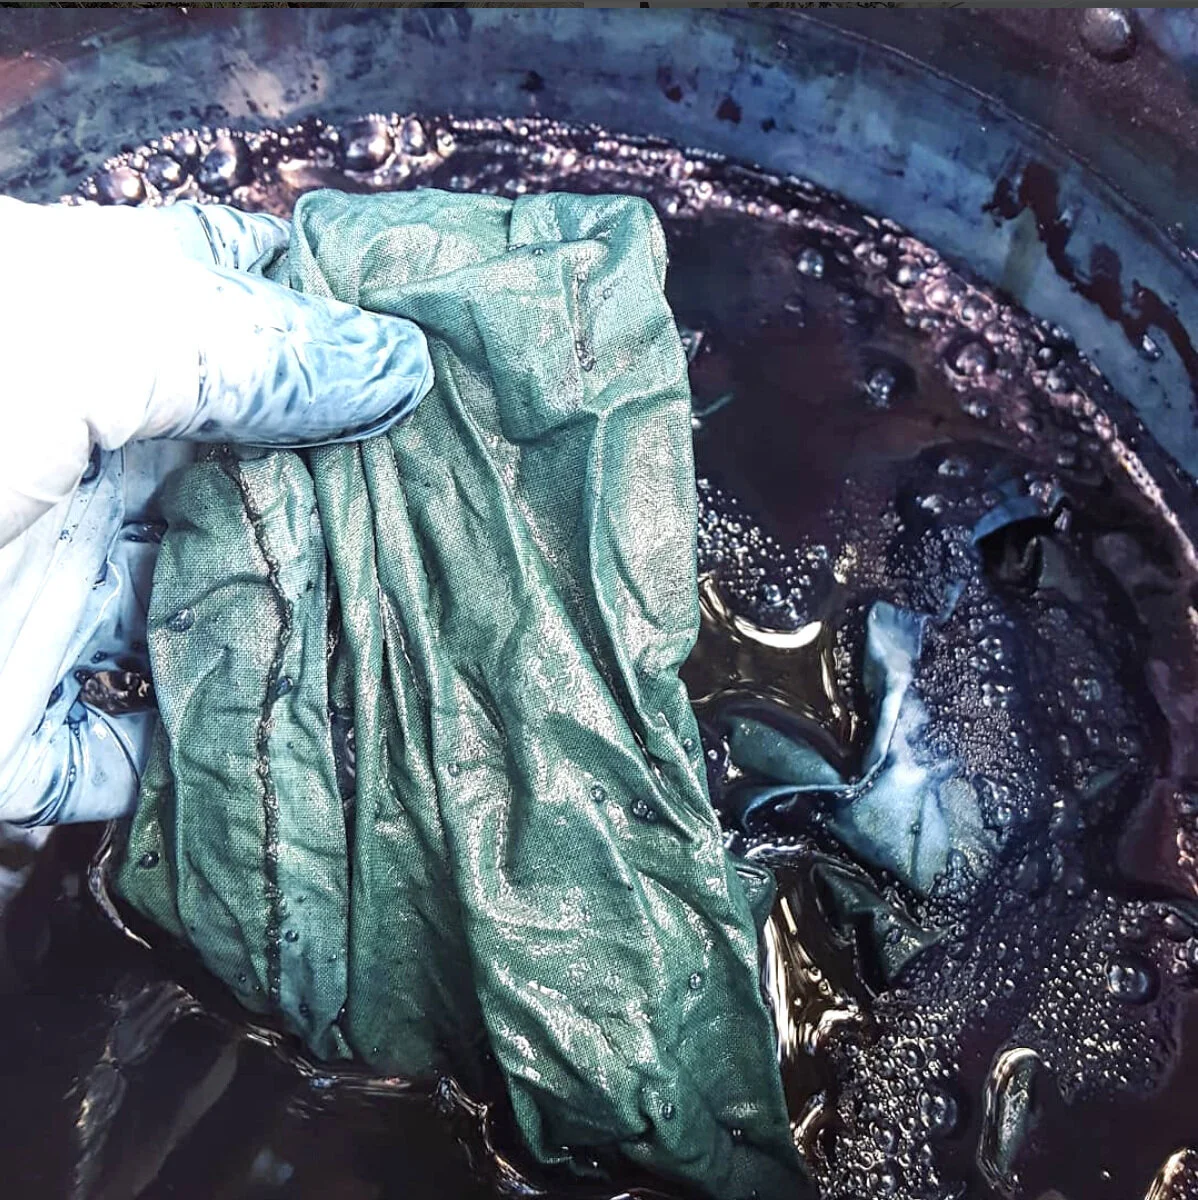
The high pH creates the ideal environment to remove oxygen from the water. Why no oxygen? Removing oxygen from the solution creates an excess of electrons. The indigo molecules snatch up those extra electrons. This transforms indigo into leuco-indigo, which is soluble in water. Leuco-indigo means white indigo and is called this because it no longer appears blue. It doesn’t look white, or clear, as you might think based on the same. Instead, the solution is a translucent yellow-green. The surface of the vat usually appear coppery blue, and may be bubbly. The bubbles often contain trapped indigo molecules and appear blue. This is called the flower.


When fiber is dipped into the vat, it first appears the same yellow-green color as the solution. When it is exposed to oxygen, the leuco-indigo molecules lose those extra electrons and are converted back to indigo. You can witness this change by watching the color of your fiber transform from green to blue before your eyes!
Indigo has been used as a dye for centuries all across the world. There are many different ways to create an indigo vat - some using traditional materials and some that are more modern. Here I’m providing some basic information and pros/cons of several methods to help you decide which to use for your dye projects. There are a lot of resources with vat recipes and how-to instructions and I’ll include a few links along with the information here.

Soda ash and thiox or hydros (chemical vat)
In this vat, soda ash is used to increase pH and thiourea dioxide (thiox) or sodium hydrosulfite (hydros) is the reduction material. Thiox is sometimes found by the name brand Spectralite. Hydros is the active ingredient in RIT Color Remover and is easy to find in local stores. Thiox has a less noxious odor and is considered safer than hydros.
Directions for setting up this type of vat can be found here.
Pros
Quick acting
Heat speeds up the reaction time but ongoing heating isn’t necessary
No sediment
Easy to rebalance
Can be maintained indefinitely
Cons
Strong odor, esp. with hydros vat
Must be washed thoroughly to remove thiox/hydros
If using hydros, can be hard to overdye colors with indigo to achieve blends
May be difficult to obtain ingredients. Thiox must be shipped via ground transportation.
Fructose Vat (organic vat, 1-2-3 vat)
Slaked lime (calcium hydroxide) is used to increase pH and fructose is the reduction material. Slaked lime is also called pickling lime. Honey or a fruit syrup can be used instead of fructose but I have no experience with that. Cane sugar will not work.
Directions for setting up this type of vat can be found here.
Pros
Odor is not as strong as thiox vat
Ingredients easy to find
Relatively quick acting
Heat speeds up the reaction time but ongoing heating isn’t necessary
Cons
Creates sediment that could mar fiber
Sediment can trap unreduced indigo
Can be difficult to rebalance
Not ideal for long term use
Converts to a fermentation vat after some time
Iron Vat
This vat is very similar to fructose vat, and has the same pros and cons, but uses iron (ferrous sulfate) as the reduction material instead of fructose. It requires a higher ratio of pickling lime than the fructose vat, making the pH higher. It is, therefore, only suitable for dyeing cellulose fibers such as cotton and linen. It also requires thorough rinsing between dips.
Directions for setting up this type of vat can be found here.
Fermentation Vat
This vat uses soda ash to increase pH, bran to provide “food” for the fermentation bacteria, and chopped madder root because it contains an enzyme that aids in fermentation.
Directions for setting up this type of vat can be found here.
Pros
More traditional vat
Most non-toxic of the above options
Can be maintained indefinitely
Cons
Slow acting (weeks)
Requires constant heat
Creates sediment
Moderate odor - some are more bothered by it than others
Rebalancing (“feeding” the fermentation bacteria) requires time and attention
Urine Fermentation vat
This is the simplest vat. Simply collect a bucketful of urine, let it become “stale” by aging it for several weeks. Add indigo, stir daily for 1 - 2 weeks. Dye as usual. The most non-toxic of vats, but a very strong odor. The main detraction is that the idea of collecting and using urine is very unpleasant to many people.
Directions for setting up this type of vat can be found here.

Like anything, choosing an indigo vat is a personal decision and what it a benefit to you may be a deal-breaker to another dyer. This post is adapted from a handout I created for my workshops and is by no means comprehensive but I hope it helps you understand some of the differences between commonly used indigo vats. Let me know if you think I left out anything important and feel free to share your preferred vat in the comments below! I love to hear what other dyers are using. I always have a thiox vat going and use a fructose vat occasionally as well.